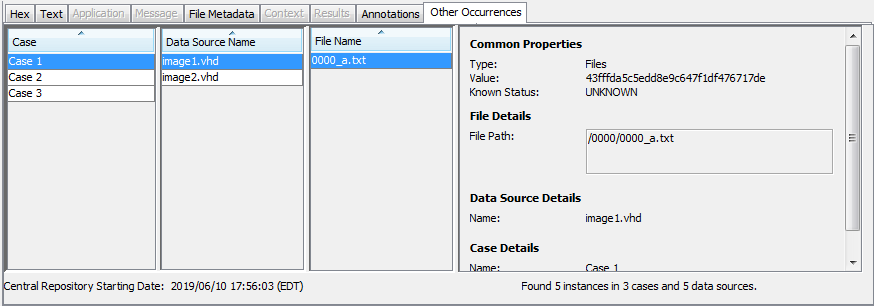
The Content Viewer lives in the lower right-hand side of the Autopsy main screen and shows pictures, video, hex, text, extracted strings, metadata, etc. The Content Viewer is populated when you select an entry in the Result Viewer.
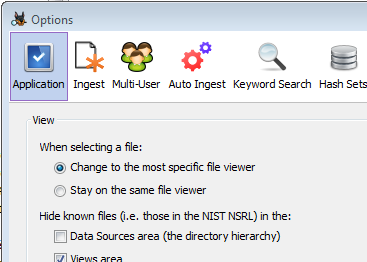
The Content Viewer is context-aware, meaning different tabs will be enabled depending on the type of content selected and which ingest modules have been run. It will default to what it considers the "most specific" tab. For example, selecting a JPG will cause the Content Viewer to automatically select the "Application" tab and will display the image there. If you instead would like the Content Viewer to stay on the previously selected tab when you change to a different content object, go to the View Options panel through Tools->Options->Application Tab and select the "Stay on the same file viewer" option.
When a result item is selected in the Result Viewer (as opposed to a file), most of the tabs will correspond to the file associated with the result and not the result itself. For example, when selecting a keyword hit, the "Hex", "Strings", and "File Metadata" tabs will show data from the file where the keyword was found. The descriptions below will generally assume a file has been selected, but most also apply when we have a file associated with a selected result.
Hex
The Hex tab is nearly always available and shows you the raw and exact contents of a file. In this tab, the data of the file is represented as hexadecimal values grouped in 2 groups of 8 bytes, followed by one group of 16 ASCII characters which are derived from each pair of hex values (each byte). Non-printable ASCII characters and characters that would take more than one character space are typically represented by a dot (".") in the following ASCII field.
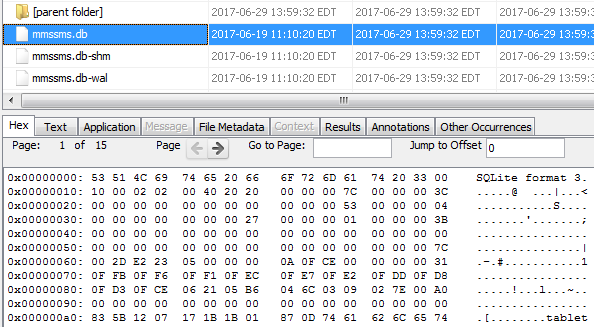
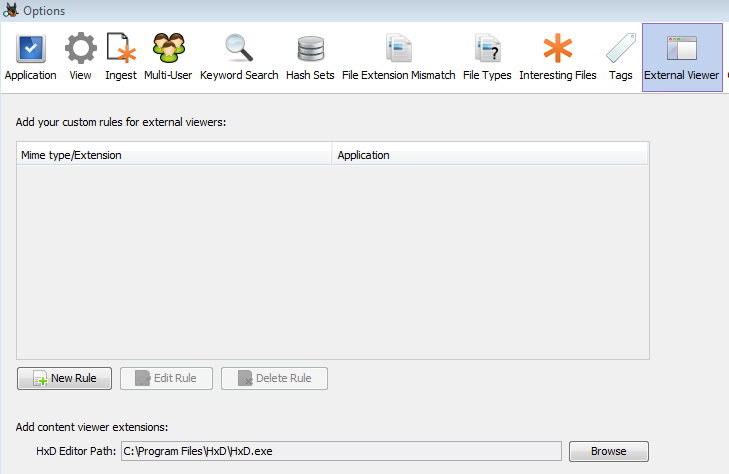
If desired, you can open the file in an external hex editor. This is configured through the "External Viewer" tab on the options panel. HxD has been verified to work with Autopsy, but alternate hex editors may also be compatible.
Note that this process saves the file to disk before launching the hex editor. A progress indicator will be displayed in the lower right corner of the application. If you wish to cancel the file export, click the 'X' to the right of the progress bar.

Text
The Text tab has three sub tabs for displaying the text contained in the selected item.
Strings
The Strings tab shows all text strings found in the file for the given script selected in the upper right. By default Latin text is used.
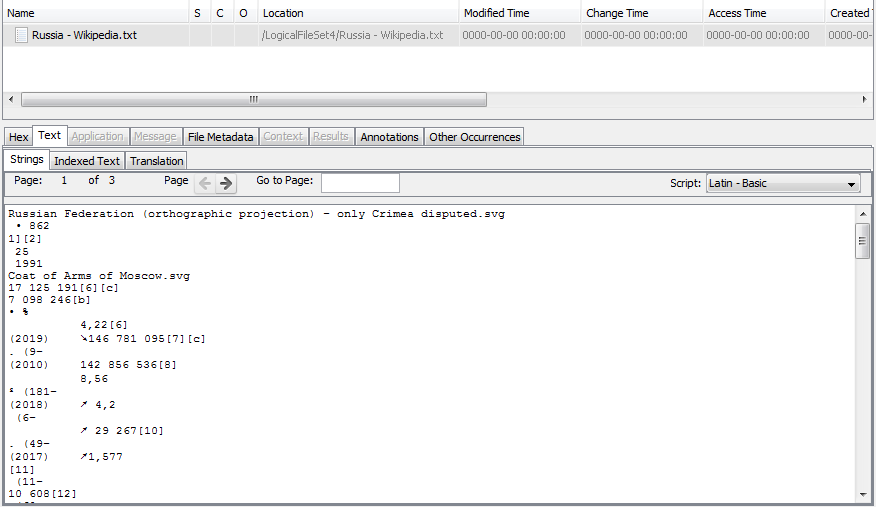
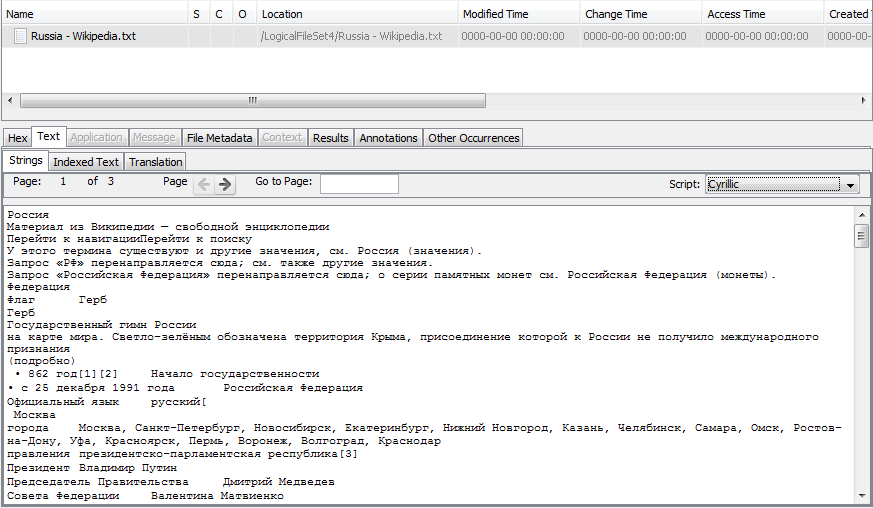
Different scripts can be chosen from the drop-down menu to display results for non-Latin alphabets.
Indexed Text
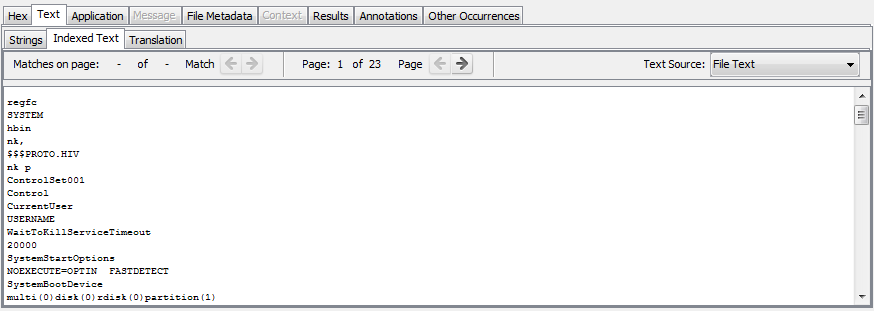
The Indexed Text tab shows the text that has been indexed by the Keyword Search Module. You can switch the "Text Source" field to "Result Text" to see the text that has been indexed for the results associated with a file.
Translation
If you have a translation service enabled, the Translation tab allows you to translate the text. See the Machine Translation page for more information.
Application
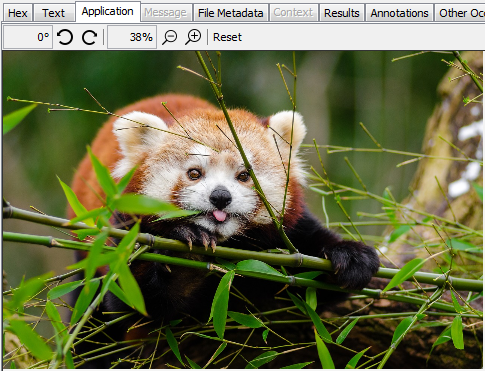
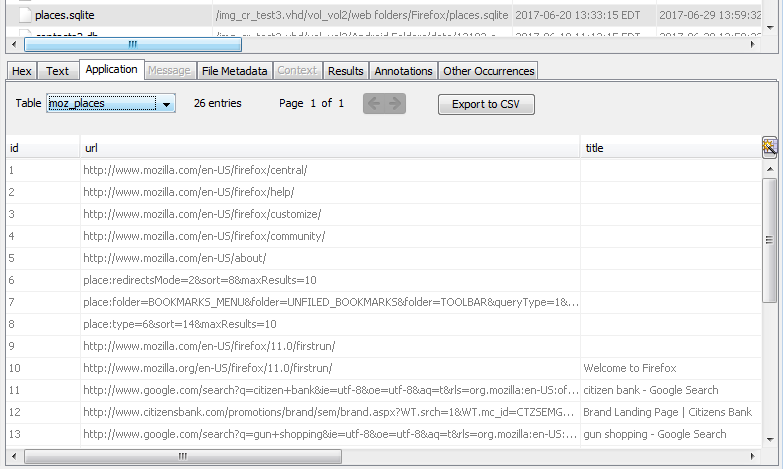
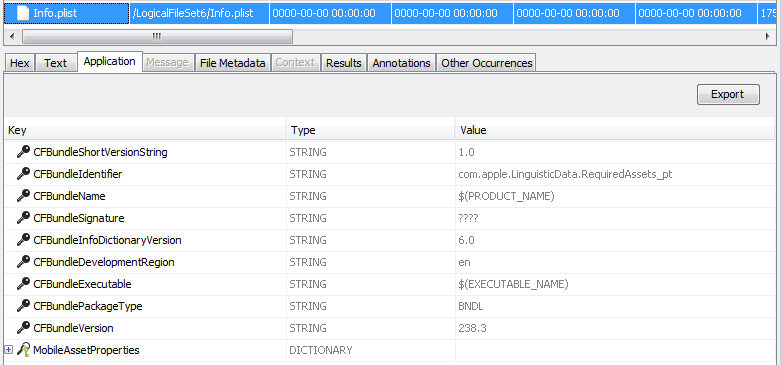
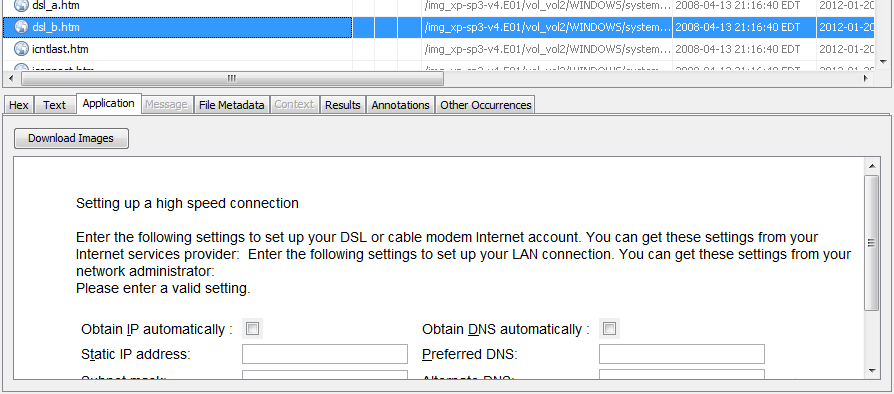
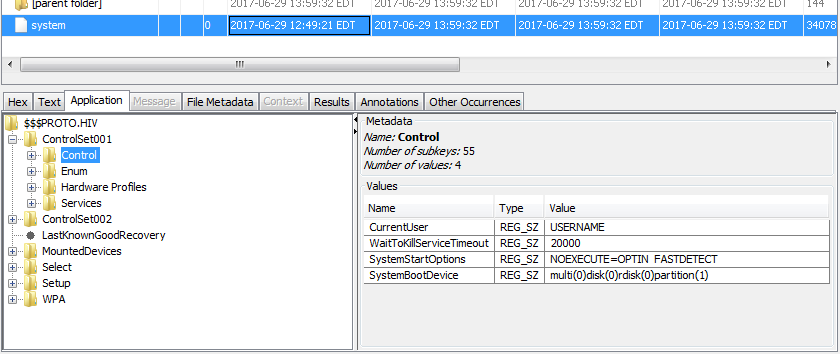
For certain file types, the Application tab can display the contents in a user friendly format. The following screenshots show some examples of what the Application tab will display.
It will display most image types, which can be scaled and rotated:
It displays video files, allowing you to move play/pause, move forward or backward 30 seconds, adjust the volume, and change the playback speed.

It also allows you to browse SQLite tables and export their contents as CSV:
And plist file data will be shown and can be exported:
HTML files can be displayed closer to their original form:
Registry hive files can be viewed in a format similar to a registry editor.
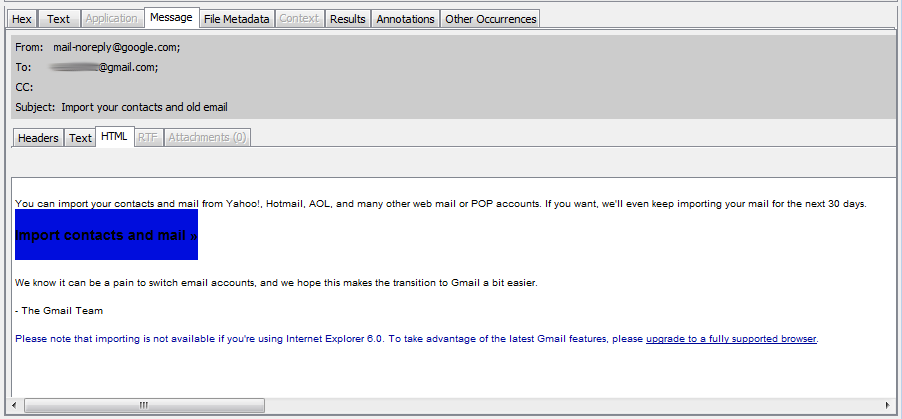
Message
The Message tab shows details of emails and SMS messages.
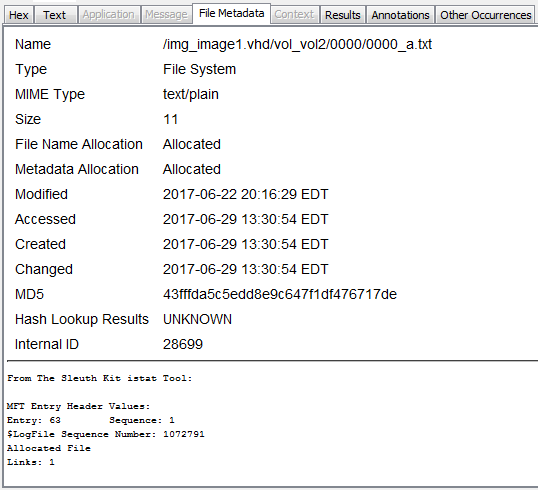
File Metadata
The File Metadata tab displays basic information about the file, such as type, size, and hash. It also displays the output of the Sleuth Kit istat tool.
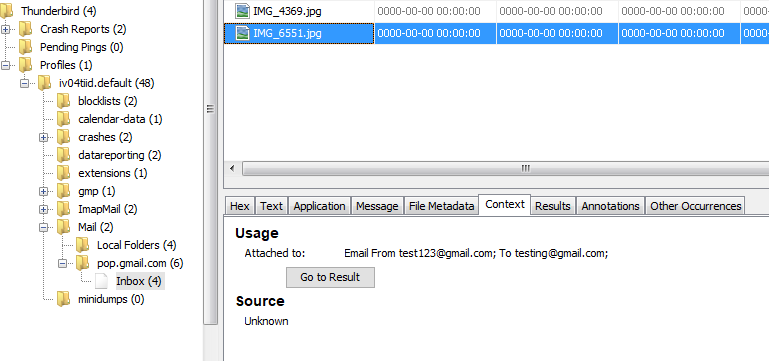
Context
The Context tab shows information on where a file came from and allows you to navigate to the original result. For example, it can show the the URL for downloaded files and the email message a file was attached to. In the image below you can see the context for an image that was sent as an email attachment.
Results
The Results tab is active when selecting items with associated results such as keyword hits, call logs, and messages. The exact fields displayed depend on the type of result. The two images below show the Results tab for a call log and a web bookmark.


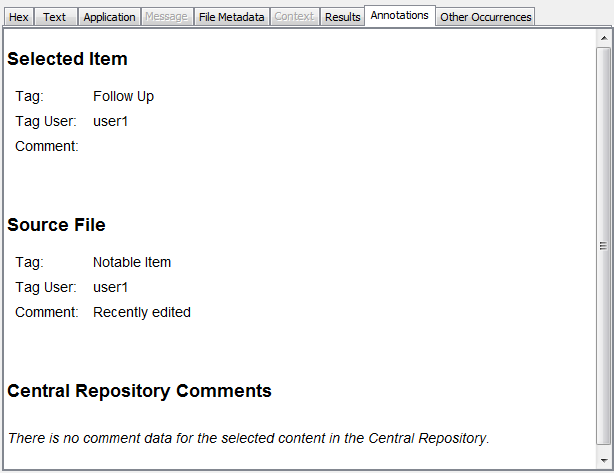
Annotations
The Annotations tab shows information added by an analyst about a file or result. It displays any tags and comments associated with the file or result, and if the Central Repository is enabled it will also display any comments saved to the Central Repository.
Other Occurrences
The Other Occurrences tab shows other instances of this file or result. Enabling the Central Repository adds additional functionality to this tab. See the Content Viewer section for more information.
