Overview
The Data Source Integrity module has two purposes:
- If the data source has any hashes associated with it (either user-entered or contained in an E01 file), it will verify these hashes
- If the data source has no associated hashes, it will calculate the hashes and store them in the database
Running the module
If you wish to verify hashes, the first step is to enter hashes for your disk image (unless you have an E01 file - the hash is included in the data source). You can do this in the Add Data Source wizard where you select your disk image.
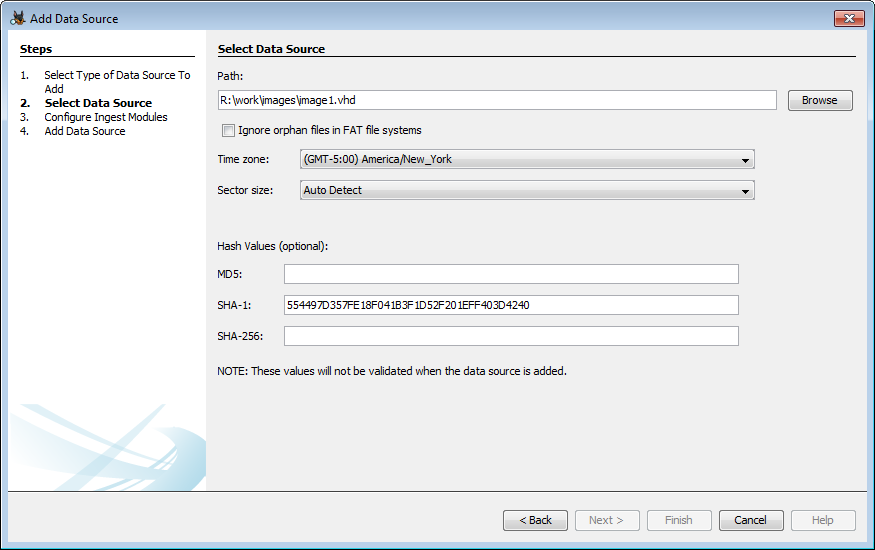
You can enter any combination of hashes to be verified.
You'll next need to configure the ingest module.
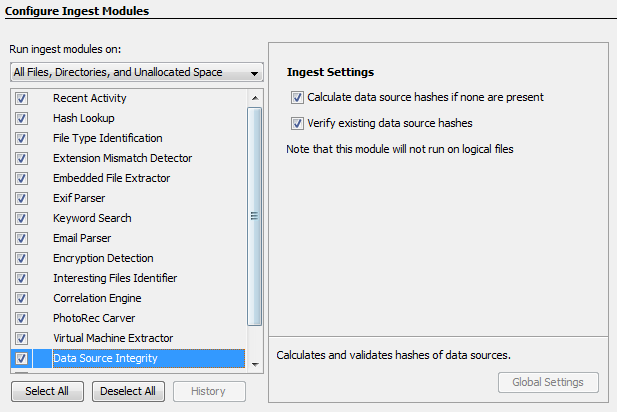
Note that this is simply enabling one or both behaviors, not choosing which one to run (compute vs. verify). That is determined solely by whether the data source has associated hashes. Unchecking both boxes but leaving the module enabled will lead to an ingest module startup error
Viewing results
Hash verification
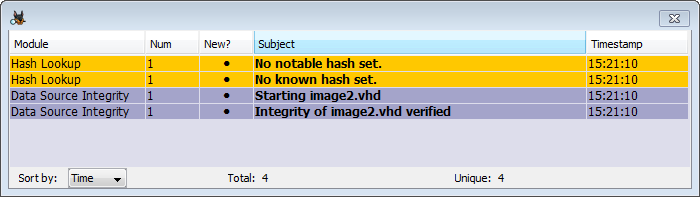
When verifying, if the check succeeds you'll see an inbox message confirming it. If you open the message you'll see the stored and computed hash values.

If the verification fails, you'll see an inbox message in yellow and the same message in a pop-up warning bubble.
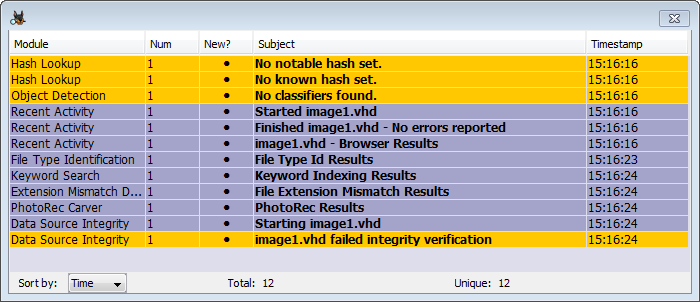
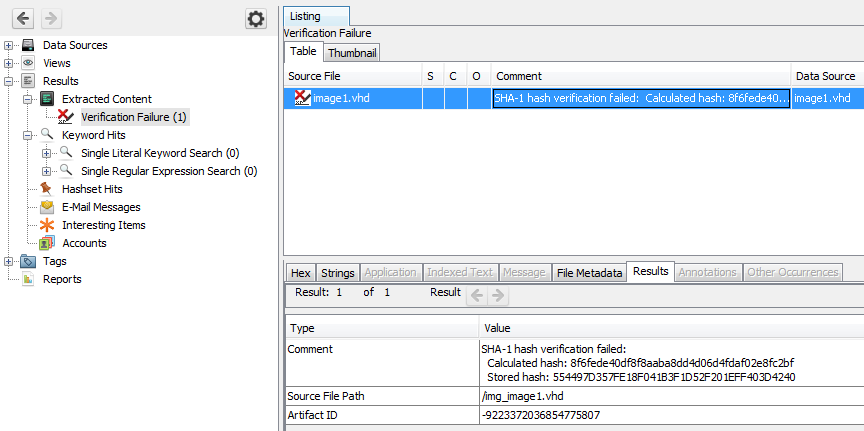
The inbox messages will disappear after the case is closed, so the module also adds a "Verification Failed" artifact added to the case.
Hash computation
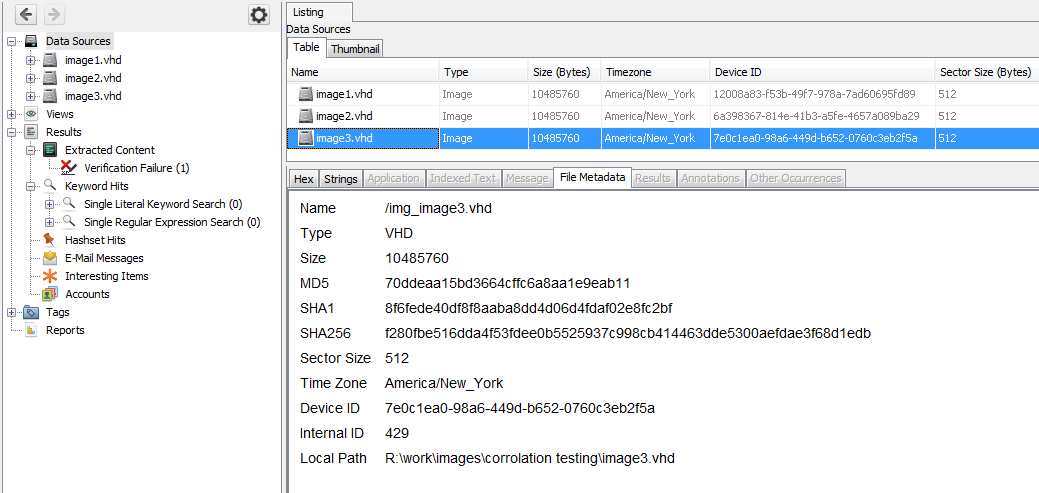
To view the calculated hashes, select "Data Sources" in the tree, select your data source in the result viewer, and then open the "File Metadata" tab. If you're in "Group by data source" mode (see View Options), select "Data Source Files" under the data source you want to examine.