Overview
ActiveMQ is a messaging service that allows the Autopsy clients to communicate with each other. This allows each client to get real-time updates. This service has minimal storage requirements.
Prerequisites
You will need:
- 64-bit version of the Java Runtime Environment (JRE) from http://www.oracle.com/technetwork/java/javase/downloads/jre8-downloads-2133155.html.
- Download ActiveMQ from: http://activemq.apache.org/download.html . Autopsy has been tested with ActiveMQ version 5.14.0.
Installation
JRE Installation
Install the Java JRE if needed. You can test this by running where java from the command line. If you see output like the yellow results below, you have a JRE.

If you need the JRE, install it with the default settings.
ActiveMQ Installation
- Extract the contents of the ActiveMQ archive folder to a location of your choice, bearing in mind that the files should be in a location that the running process will have write permissions to the folder. A typical folder choice would be similar to C:\Program Files\apache-activemq-5.13.3. Typically, it will ask for administrator permission to move the folder. Allow it if required.
- Edit the conf\activemq.xml in the extracted folder to add "&wireFormat.maxInactivityDuration=0" to the URI for the transportConnector named openwire. Add the text highlighted in yellow below:

- Install ActiveMQ as a service by navigating to the folder bin\win64, right-clicking InstallService.bat, clicking Run as administrator, then click Yes.
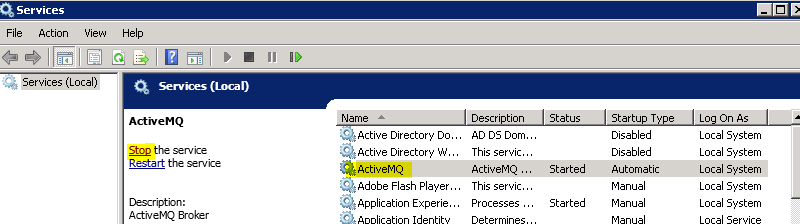
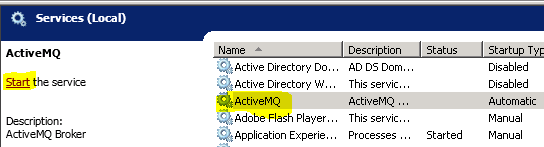
- Start the ActiveMQ service by pressing Start, type services.msc, and press Enter. Find ActiveMQ in the list and press the Start the service link.
- ActiveMQ should now be installed and configured using the default credentials.
Testing
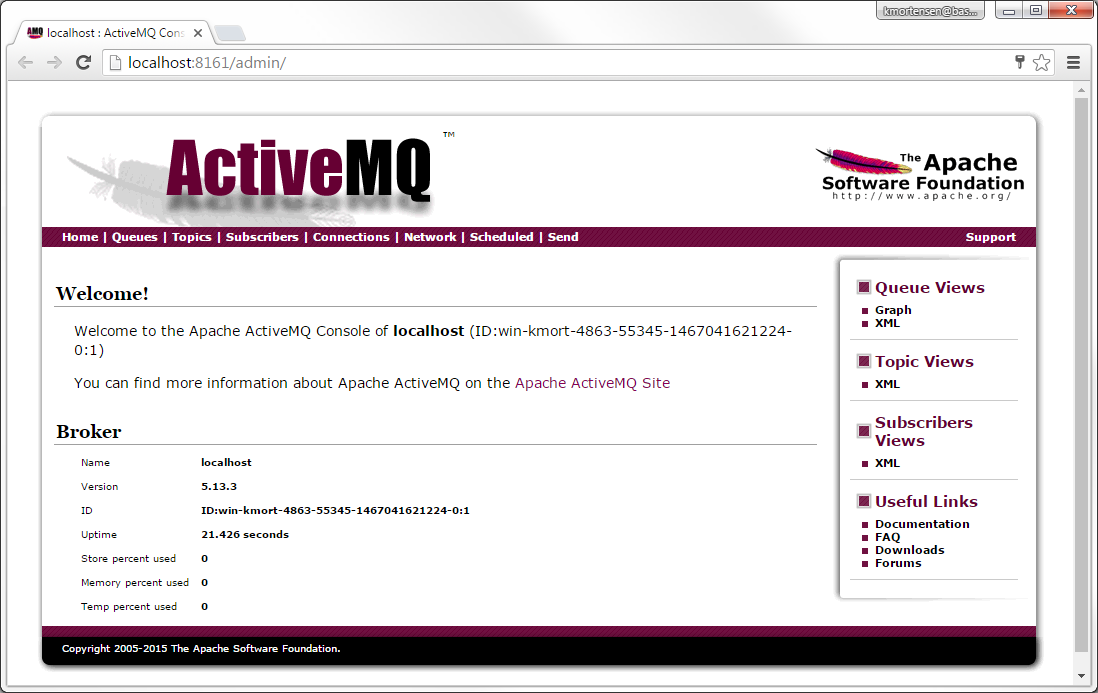
To test your installation, you can access the admin pages in your web browser via a URL like this: http://localhost:8161/admin.
The default administrator username is admin with a password of admin and the default regular username is user with a default password of password. You can change these passwords by following the instructions below.
If you can see a page that looks like the following, it confirms that the ActiveMQ service is running locally but it does not necessarily mean that the service is visible to other computers on the network.
You can confirm that your ActiveMQ installation is visible to other computers on the network by attempting to connect to a URL like the following (replacing the host name with that of the ActiveMQ computer) in a web browser: http://activemq-computer:61616
If you are unable to connect to this address:
- Double check that the ActiveMQ service is running
- Check that the port (61616) is not being blocked by a firewall.
Configuring Authentication
You can optionally add authentication to your ActiveMQ server. The ActiveMQ communications are not encrypted and contain basic messages between the systems about when new data has been found.
The following directions allow you to set up credentials:
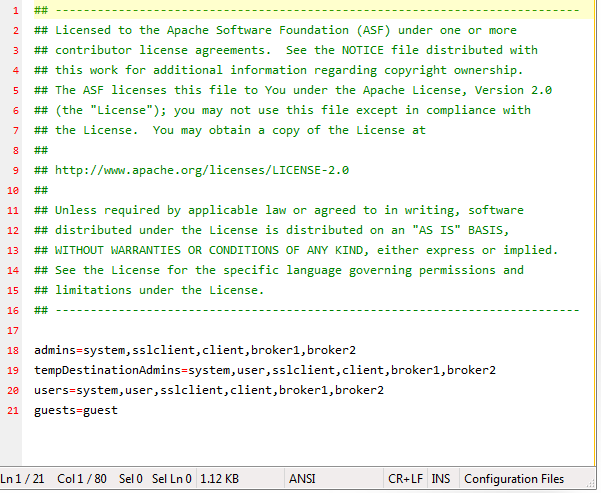
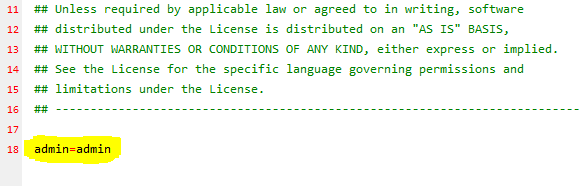
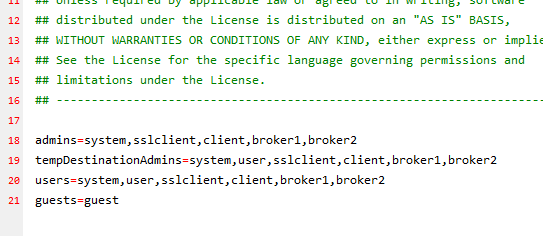
- Copy and paste the following text to the file "conf\groups.properties", overwriting the text highlighted in yellow in the screenshot below:
admins=system,sslclient,client,broker1,broker2
tempDestinationAdmins=system,user,sslclient,client,broker1,broker2
users=system,user,sslclient,client,broker1,broker2
guests=guest
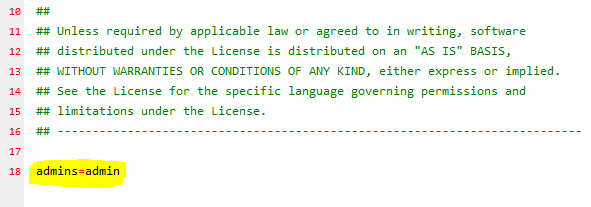
When complete, the file should look like this:
- Copy and paste the following text to the file "conf\users.properties", overwriting the text highlighted in yellow in the screenshot below:
system=manager
user=password
guest=password
sslclient=CN=localhost, OU=activemq.org, O=activemq.org, L=LA, ST=CA, C=US
When complete, the file should look like this:
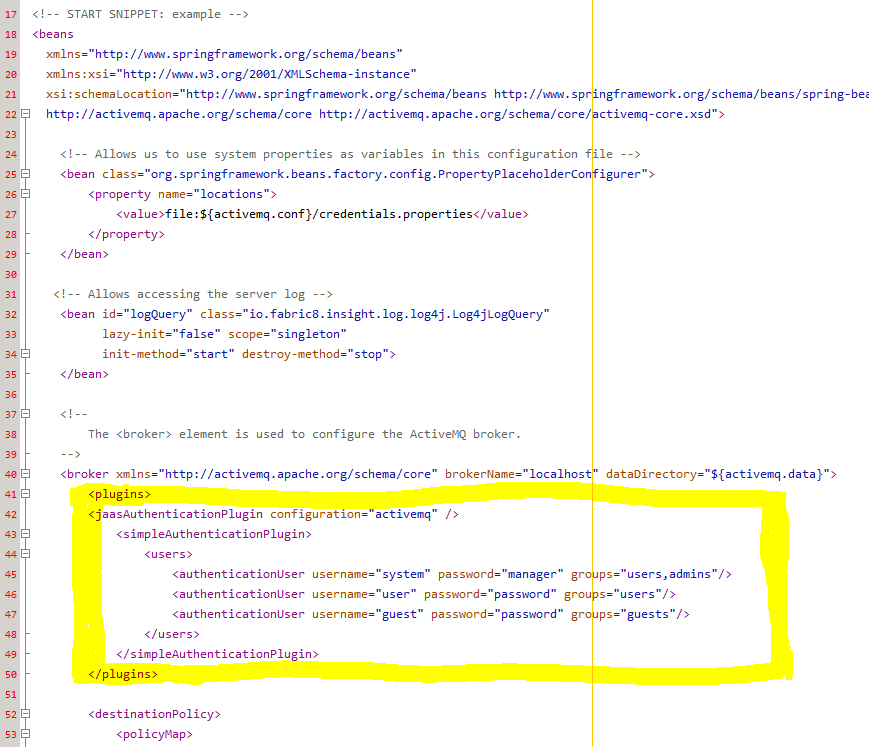
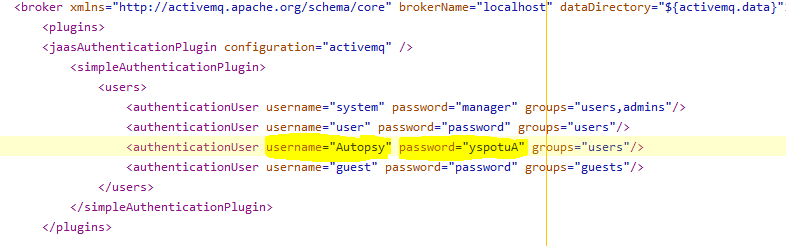
- Copy and paste the following text to the file "conf\activemq.xml", inserting the text at the line shown in yellow in the screenshot below.
     <plugins>
     <jaasAuthenticationPlugin configuration="activemq-domain" />
         <simpleAuthenticationPlugin>
             <users>
                 <authenticationUser username="system" password="manager" groups="users,admins"/>
                 <authenticationUser username="user" password="password" groups="users"/>
                 <authenticationUser username="guest" password="password" groups="guests"/>
             </users>
         </simpleAuthenticationPlugin>
     </plugins>
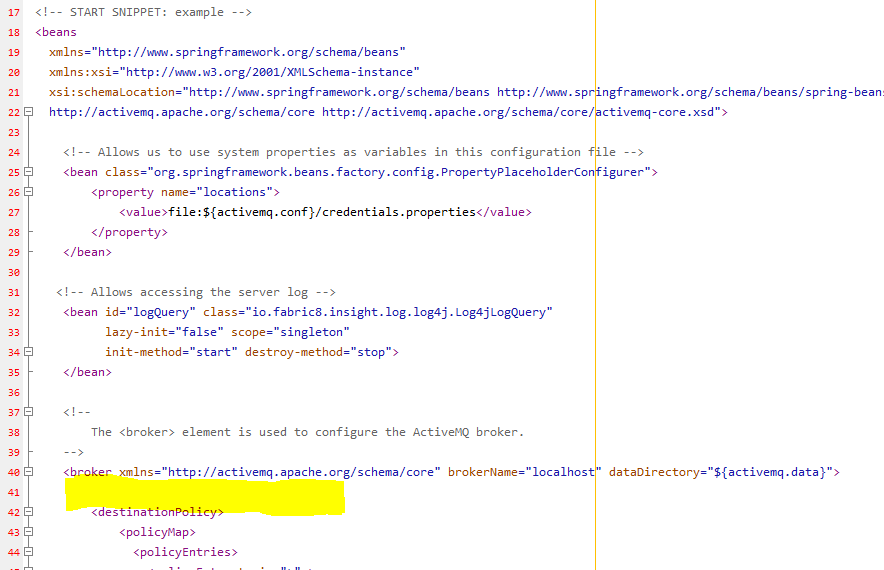
After insertion, the file should look like the screenshot below, with the inserted portion highlighted in yellow. This is where you can change the username and password for your ActiveMQ setup.
To add a new user or change the password:
- Stop the ActiveMQ service by pressing Start, type services.msc, and press Enter. Find ActiveMQ in the list and press the Stop the service link.
- Edit "conf\activemq.xml" adding the desired line. Both username and password are case sensitive. You will very likely want to keep your new users in the users group.
- Start the ActiveMQ service by pressing Start, type services.msc, and press Enter. Find ActiveMQ in the list and press the Start the service link.
Backing Up
There is nothing to backup for ActiveMQ. It does not store any case-related data in files.