Adding a Data Source (image, local disk, logical files)
Data sources are added to a case. A case can have a single data source or it can have multiple data sources. Currently, a single report is generated for an entire case, so if you need to report on individual data sources, then you should use one data source per case. If there are many drives/phones/other data sources for one investigation, then your case should have multiple data sources.
Creating a Case
To create a case, use either the "Create New Case" option on the Welcome screen or from the "Case" menu. This will start the New Case Wizard. You will need to supply it with the name of the case and a directory to store the case results into. You can optionally provide case numbers and reviewer names.
Adding a Data Source
The next step is to add an input data source to the case. The Add Data Source Wizard will start automatically after the case is created or you can manually start it from the "Case" menu or toolbar. You will need to choose the type of input data source to add (image, local disk, or logical files and folders). Next, supply it with the location of the source to add.
- For a disk image, browse to the first file in the set (Autopsy will find the rest of the files). Autopsy currently supports E01 and raw (dd) files.
- For local disk, select one of the detected disks. Autopsy will add the current view of the disk to the case (i.e. snapshot of the meta-data). However, the individual file content (not meta-data) does get updated with the changes made to the disk. Note, you may need run Autopsy as an Administrator to detect all disks.
- For logical files (a single file or folder of files), use the "Add" button to add one or more files or folders on your system to the case. Folders will be recursively added to the case.
There are a couple of options in the wizard that will allow you to make the ingest process faster. These typically deal with deleted files. It will take longer if unallocated space is analyzed and the entire drive is searched for deleted files. In some scenarios, these recovery steps must be performed and in other scenarios these steps are not needed and instead fast results on the allocated files are needed. Use these options to control how long the analysis will take.
Autopsy will start to analyze these data sources and add them to the case and the internal database. While it is doing that, it will prompt you to configure the Ingest Modules.
Ingest Modules
You will next be prompted to configure the Ingest Modules. Ingest modules will run in the background and perform specific tasks. The Ingest Modules analyze files in a prioritized order so that files in a user's directory are analyzed before files in other folders. Ingest modules can be developed by third-parties. The standard ingest modules included with Autopsy are:
- Recent Activity Module extracts user activity as saved by web browsers and the OS. Also runs Regripper on the registry hive.
- Hash Lookup Module uses hash sets to ignore known files from the NIST NSRL and flag known bad files. Use the "Advanced" button to add and configure the hash sets to use during this process. You will get updates on known bad file hits as the ingest occurs. You can later add hash sets via the Tools -> Options menu in the main UI. You can download an index of the NIST NSRL from http://sourceforge.net/projects/autopsy/files/NSRL/
- File Type Identification Module determines file types based on signatures and reports them based on MIME type. It stores the results in the Blackboard and many modules depend on this. It uses the Tika open source library. You can define your own custom file types in Tools, Options, File Types.
- Embedded File Extraction Module opens ZIP, RAR, other archive formats, Doc, Docx, PPT, PPTX, XLS, and XLSX and sends the derived files from those files back through the ingest pipeline for analysis.
- EXIF Parser Module extracts EXIF information from JPEG files and posts the results into the tree in the main UI.
- Keyword Search Module uses keyword lists to identify files with specific words in them. You can select the keyword lists to search for automatically and you can create new lists using the "Advanced" button. Note that with keyword search, you can always conduct searches after ingest has finished. The keyword lists that you select during ingest will be searched for at periodic intervals and you will get the results in real-time. You do not need to wait for all files to be indexed before performing a keyword search, however you will only get results from files that have already been indexed when you perform your search.
- Email Parser Module identifies Thunderbird MBOX files and PST format files based on file signatures, extracting the e-mails from them, adding the results to the Blackboard.
- Extension Mismatch Detector Module uses the results from the File Type Identification and flags files that have an extension not traditionally associated with the file's detected type. Ignores 'known' (NSRL) files. You can customize the MIME types and file extensions per MIME type in Tools, Options, File Extension Mismatch.
- E01 Verifier Module computes a checksum on E01 files and compares with the E01 file's internal checksum to ensure they match.
- Android Analyzer Module allows you to parse common items from Android devices. Places artifacts into the BlackBoard.
- Interesting Files Identifier Module searches for files and directories based on user-specified rules in Tools, Options, Interesting Files. It works as a "File Alerting Module". It generates messages in the inbox when specified files are found.
- PhotoRec Carver Module carves files from unallocated space and sends them through the file processing chain.
When you select a module, you will have the option to change its settings. For example, you can configure which keyword search lists to use during ingest and which hash sets to use. Refer to the individual module help for details on configuring each module.
While ingest modules are running in the background, you will see a progress bar in the lower right. You can use the GUI to review incoming results and perform other tasks while ingesting at the same time.
Analysis Basics
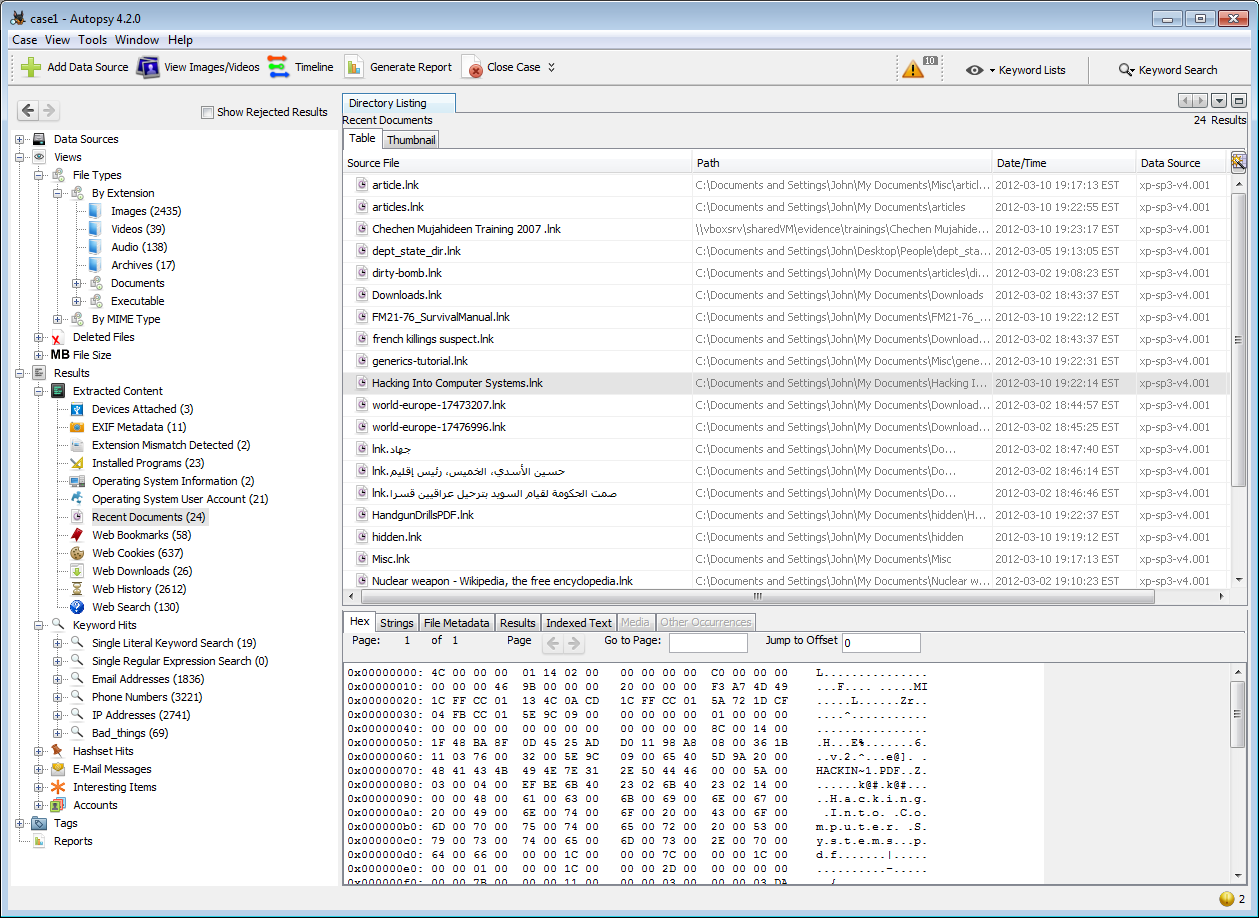
You will start all of your analysis techniques from the tree on the left.
- The Data Sources root node shows all data in the case.
- The individual image nodes show the file system structure of the disk images or local disks in the case.
- The LogicalFileSet nodes show the logical files in the case.
- The Views node shows the same data from a file type or timeline perspective.
- The Results node shows the output from the ingest modules.
When you select a node from the tree on the left, a list of files will be shown in the upper right. You can use the Thumbnail view in the upper right to view the pictures. When you select a file from the upper right, its contents will be shown in the lower right. You can use the tabs in the lower right to view the text of the file, an image, or the hex data.
If you are viewing files from the Views and Results nodes, you can right-click on a file to go to its file system location. This feature is useful to see what else the user stored in the same folder as the file that you are currently looking at. You can also right click on a file to extract it to the local system.
If you want to search for single keywords, then you can use the search box in the upper right of the program. The results will be shown in a table in the upper right.
The tree on the left as well as the table on the right have a UI Quick Search feature which can be used to quickly find a visible node.
You can tag (bookmark) arbitrary files so that you can more quickly find them later or so that you can include them specifically in a report.
Ingest Inbox
As you are going through the results in the tree, the ingest modules are running in the background. The results are shown in the tree as soon as the ingest modules find them and report them.
The Ingest Inbox receives messages from the ingest modules as they find results. You can open the inbox to see what has been recently found. It keeps track of what messages you have read.
The intended use of this inbox is that you can focus on some data for a while and then check back on the inbox at a time that is convenient for them. You can then see what else was found while you were focused on the previous task. You may learn that a known bad file was found or that a file was found with a relevant keyword and then decide to focus on that for a while.
When you select a message, you can then jump to the Results tree where more details can be found or jump to the file's location in the filesystem.
Timeline
There is a basic timeline view that you can access via the "Tools", "Make Timeline" feature. This will take a few minutes to create the timeline for analysis. Its features are still in development.
Example Use Cases
In this section, we will provide examples of how to do common analysis tasks.
Web Artifacts
If you want to view the user's recent web activity, make sure that the Recent Activity ingest module was enabled. You can then go to the "Results " node in the tree on the left and then into the "Extracted Data" node. There, you can find bookmarks, cookies, downloads, and history.
Known Bad Hash Files
If you want to see if the data source had known bad files, make sure that the Hash Lookup ingest module was enabled. You can then view the "Hashset Hits" section in the "Results" area of the tree on the left. Note that hash lookup can take a long time, so this section will be updated as long as the ingest process is ongoing. Use the Ingest Inbox to keep track of what known bad files were recently found.
When you find a known bad file in this interface, you may want to right click on the file to also view the file's original location. You may find additional files that are relevant and stored in the same folder as this file.
Media: Images and Videos
If you want to see all images and video on the disk image, then go to the "Views" section in the tree on the left and then "File Types". Select either "Images" or "Videos". You can use the thumbnail option in the upper right to view thumbnails of all images.
Note: We are working on making this more efficient when there are lots of images. We are also working on the feature to display video thumbnails.
You can select an image or video from the upper right and view the video or image in the lower right. Video will be played with sound.
Reporting
A final report can be generated that will include all analysis results. Use the "Generate Report" button to create this. It will create an HTML or XLS report in the Reports folder of the case folder. If you forgot the location of your case folder, you can determine it using the "Case Properties" option in the "Case" menu. There is also an option to export report files to a separate folder outside of the case folder.