You need to create a case before you can analyze data in Autopsy. A case can contain one or more data sources (disk images, disk devices, logical files). The data sources can be from multiple drives in a single computer or from multiple computers. It's up to you.
Each case has its own directory that is named based on the case name. The directory will contain configuration files, a database, reports, and other files that modules generates. The main Autopsy case configuration file has an ".aut" extension.
Creating a Case
There are several ways to create a new case:
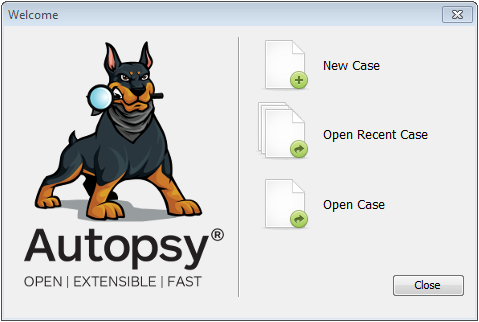
- The opening splash screen has a button to create a new case.
- The "Case", "Create New Case" menu item
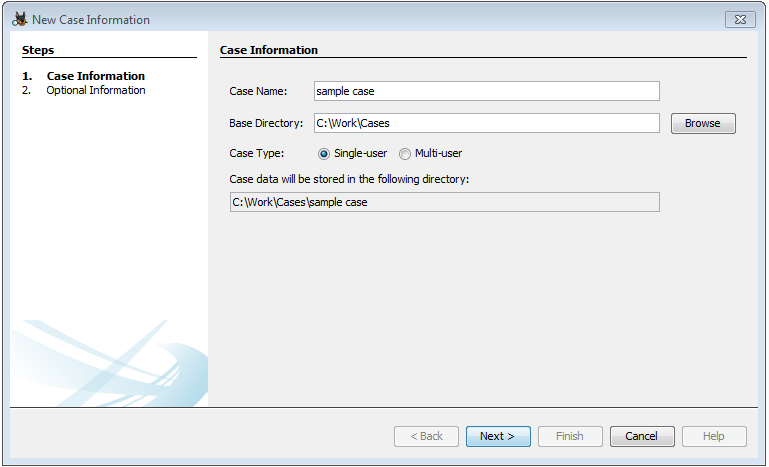
The New Case wizard dialog will open and you will need to enter the case name and base directory. A directory for the case will be created inside of the "base directory". If the directory already exists, you will need to either delete the existing directory or choose a different combination of names.
NOTE: You will only have the option of making a multi-user case if you have configured Autopsy with multi-user settings. See Setting Up Multi-user Cluster for installation instructions and Creating Multi-user cases for details on creating multi-user cases.
You will also be prompted for optional information as shown below:
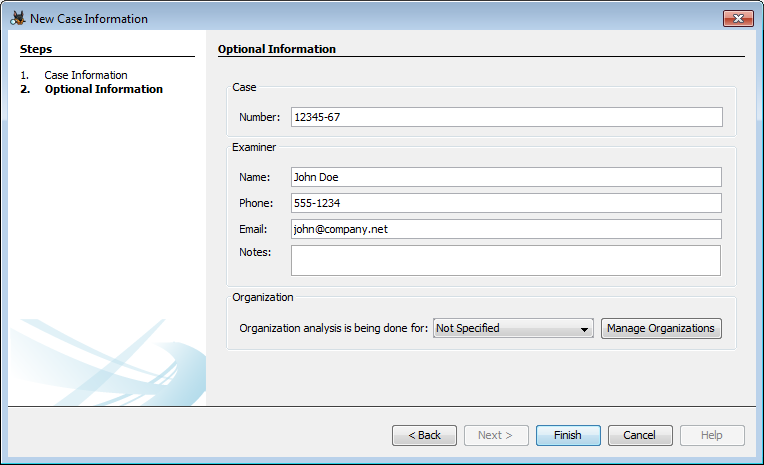
All fields on this panel are optional. Additionally, the Organization section will only be active if the central repository is enabled.
After you create the case, you will be prompted to add a data source, as described in Adding a Data Source.
Opening a Case
To open a case, either:
- Choose "Open Case" or "Open Recent Case" from the opening splash screen.
- Choose the "Case", "Open Case" menu item or "Case", "Open Recent Case"
"Open Recent Case" will always bring up a screen allowing you to select one of the recently opened cases. "Open Case" will do one of two things;
- If multi-user cases are not enabled, it will bring up a file chooser that can be used to browse to the ".aut" file in the case directory of the desired case
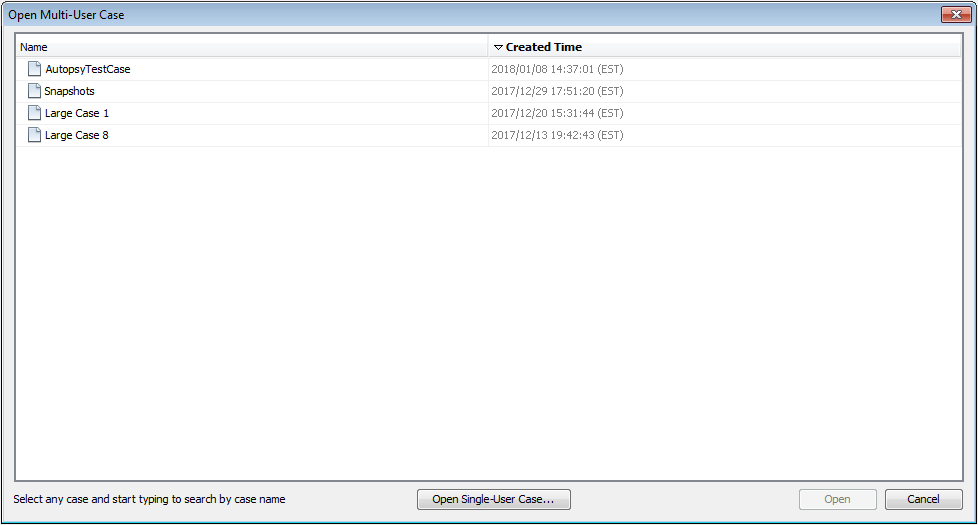
- If multi-user cases are enabled, it will bring up the multi-user case selection screen. This uses the coordination services to find a list of multi-user cases. If needed, the "Open Single-User Case" button can be used to bring up the normal file chooser. The multi-user case selection screen has a UI Quick Search feature which can be used to quickly find a case in the table. The following shows the multi-user case selection screen:
Viewing Case Details and the Data Source Summary
You can view the case properties by going to the "Case" menu and clicking "Case Details".
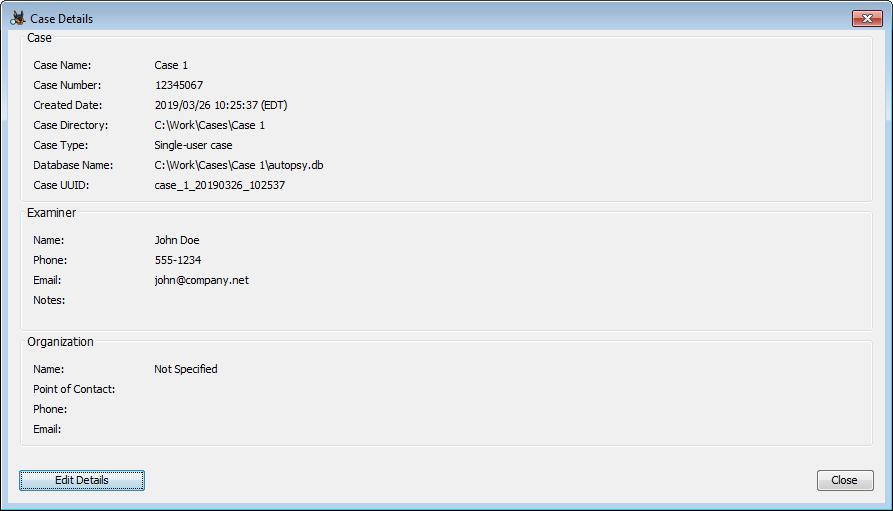
Most of the case properties can be edited through the "Edit Details" button.
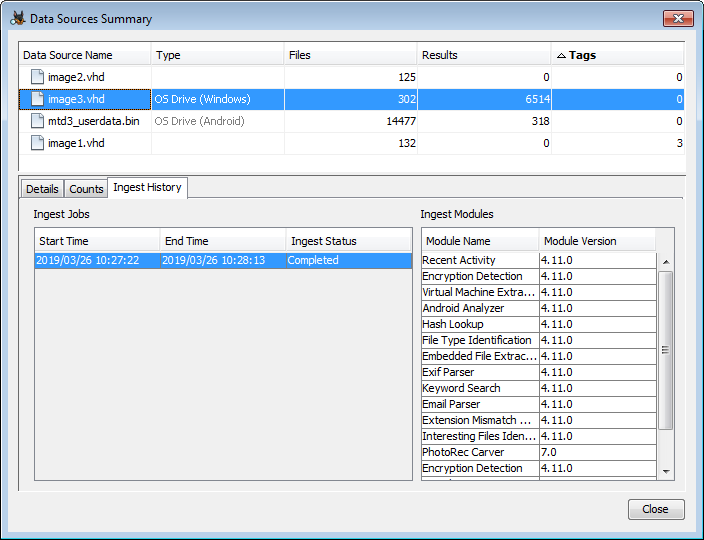
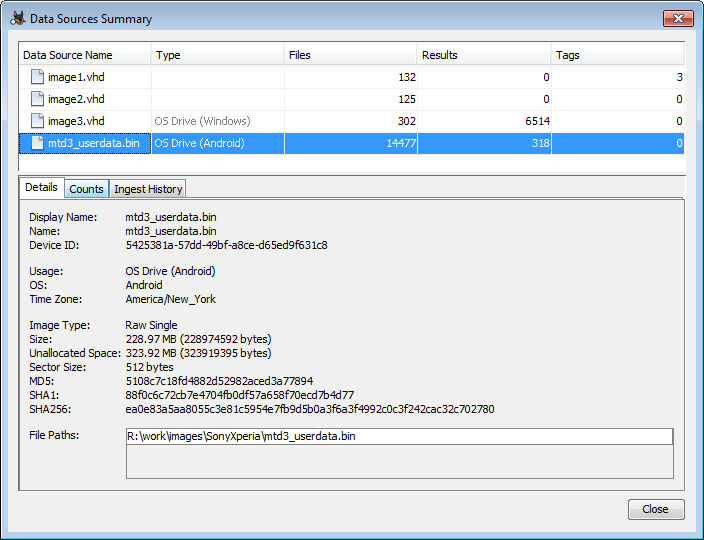
You can view the data source summary by going to the "Case" menu and clicking "Data Source Summary". The table at the top shows general information about each data source in the case. In the lower half, the first tab shows more detailed information about the selected data source.
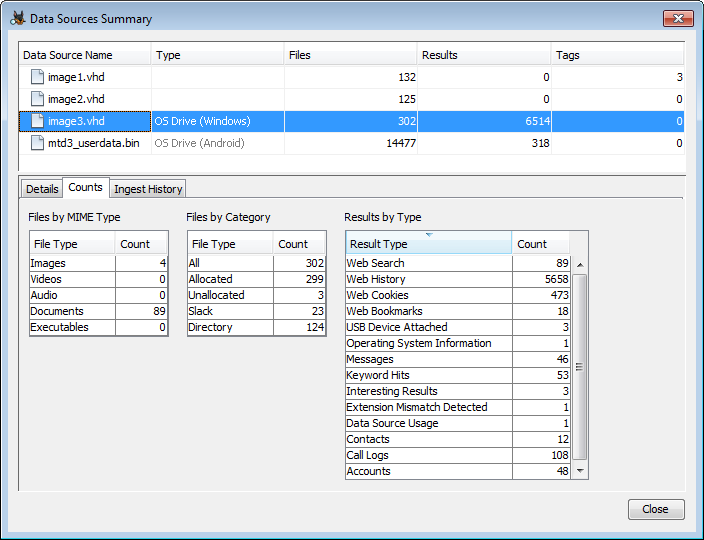
The second tab, "Counts", shows the number of files found of various types and number of extracted results.
The third tab, "Ingest History", shows each ingest job, the time it was completed, and which modules were run as part of the job.