Table of Contents
Overview
The Command Line Ingest feature allows you to run many of Autopsy's functions from the command line. You can add data sources to cases, choose which ingest modules to run, and automatically generate a report. When complete, these cases can be opened as normal or you can simply use the reports and other output without opening Autopsy.
Configuration
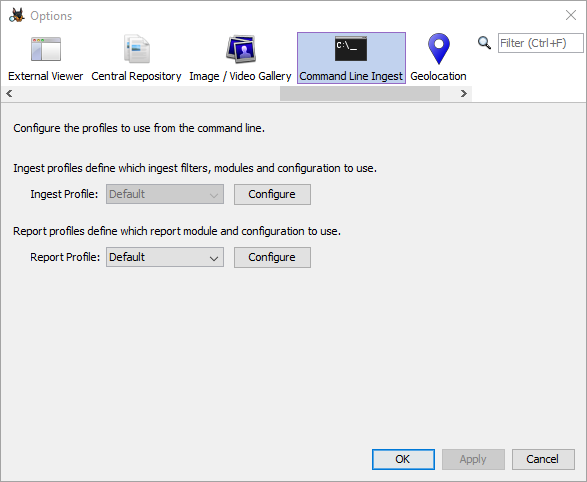
To configure command line ingest, go to Tools->Options and then select the "Command Line Ingest" tab. If you would like to create or open multi-user cases, you'll need to configure the multi-user settings.
Configuring Ingest Profiles
From the options panel you can configure the default ingest profile. This is the same as normal ingest module configuration - choose a file filter then enable or disable the individual ingest modules, changing their settings if desired. Press "OK" to save your settings.
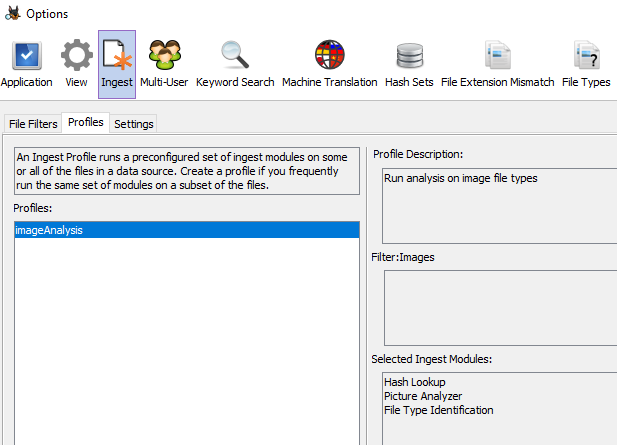
Currently custom ingest profiles can not be configured on the command line ingest options panel but they can be created through the ingest options panel and then used on the command line. Here we've created an ingest profile that will only process image file types and will only run certain ingest modules.
See the section on running ingest below for instructions on specifying an ingest profile on the command line.
Configuring Report Profiles
You can set up report profiles to use with command line ingest. You'll start with a "default" profile and can create additional profiles. Each profile will allow you to generate one type of report. Configuration is generally the same as normal report generation with some slight differences. This is mainly seen in places where your options are dependent on the open case, such as choosing tags to report on or interesting file set names to include. For example, the HTML report normally allows you to choose specific tags to include but for command line ingest it will only have the option to include all tags.
If you wish to create additional report profiles, select "Make new profile" in the drop-down menu and then click the "Configure" button. You'll be prompted to name your new report profile and then will go through the normal report configuration. Having multiple report profiles will allow you to easily generate different report types from the command line. For example, you might have an "htmlReport" report profile that creates the HTML report and another report profile to generate KML reports. See the report generation section below for directions on how to specifiy a report profile on the command line.
Command Options
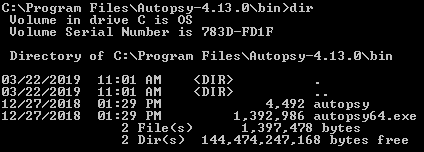
In a command prompt, navigate to the Autopsy bin folder. This is normally located at "C:\Program Files\Autopsy-version\bin".
The table below shows a summary of the command line operations. You can run one or more at a time, though you must always either create a case or open an existing case.
| Operation | Command(s) | Parameter(s) | Example |
|---|---|---|---|
| Create New Case | --createCase | --caseName --caseBaseDir --caseType (optional) | --createCase --caseName="test5" --caseBaseDir="C:\work\cases" --createCase --caseName="test_multi" --caseBaseDir="\\WIN-2913\work\cases" --caseType="multi" |
| Open Existing Case | --caseDir | --caseDir="C:\work\Cases\test5_2019_09_20_11_01_29" | |
| Add a Data Source | --addDataSource --runIngest (optional) --runIngest=(ingest profile name) (optional) | --dataSourcePath | --addDataSource --dataSourcePath="R:\work\images\small2.img" --runIngest |
| Run Ingest on Existing Data Source | --runIngest --runIngest=(ingest profile name) | --dataSourceObjectId | --runIngest --dataSourceObjectId=1 --runIngest="imageAnalysis" --dataSourceObjectId=1 |
| Generate Reports | --generateReports --generateReports=(report profile name) | --generateReports --generateReports="kmlReport" | |
| Create List of Data Sources | --listAllDataSources | --listAllDataSources |
More details on each operation along with additional examples are given below.
Creating and Opening Cases
You will always need to either create a case or give the path to an existing case. When creating a case, the current timestamp will be added to the case name. For example, running this command:
autopsy64.exe --createCase --caseName="test5" --caseBaseDir="C:\work\cases"
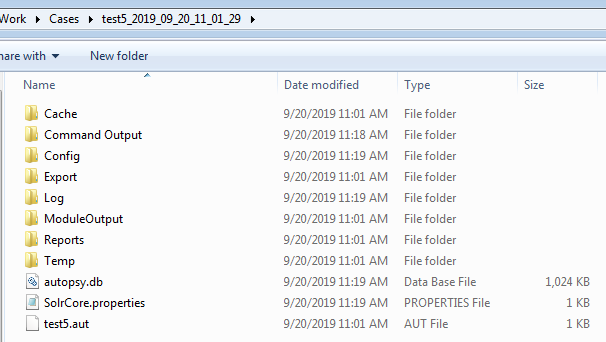
could create a case folder "test5_2019_09_20_11_01_29". Note that even though a timestamp is added to the name, the –caseName field must be unique for each run.
By default all cases will be single user. If you would like to create a multi-user case you'll need the -caseType field. You should also use the network path to your case folder so the services can access it:
autopsy64.exe --createCase --caseName="test_multi" --caseBaseDir="\\WIN-2913\work\cases" --caseType="multi"
Once a case is created you will need to use the full path to the case instead of the case name and base folder. For example, if we created the empty case "test5" as above, we could use the following command to add a data source to it:
autopsy64.exe --caseDir="C:\work\Cases\test5_2019_09_20_11_01_29" --addDataSource
   --dataSourcePath="R:\work\images\small2.img"
The case type (single or multi-user) does not have to be specified when opening a case.
Adding a New Data Source and Running Ingest
You can add a data source to a new case or an existing case using the –addDataSource option and then giving the path to the data source. If you use the –runIngest option, the ingest modules you selected in the configuration step will be run on the data source. Both disk images and logical files are supported. You can only add one data source at a time.
In this example, we'll create a new case named "test6" and add the data source "blue_images.img".
autopsy64.exe --createCase --caseName="test6" --caseBaseDir="C:\work\cases" --addDataSource
   --dataSourcePath="R:\work\images\blue_images.img"
And here we'll add another data source ("green_images.img") to the case we just made and run ingest on it. Note that ingest will only run on the new data source ("green_images.img"), not the one already in the case ("blue_images.img").
autopsy64.exe --caseDir="C:\work\cases\test6_2019_09_20_13_00_51" --addDataSource --runIngest
   --dataSourcePath="R:\work\images\green_images.img"
Next we'll add a third data source ("red_images.img") to the case and run ingest using a custom ingest profile "imageAnalysis" created as described in the Configuring Ingest Profiles section above.
autopsy64.exe --caseDir="C:\work\cases\test6_2019_09_20_13_00_51" --addDataSource --runIngest="imageAnalysis"
   --dataSourcePath="R:\work\images\red_images.img"
Finally we'll add a folder ("Test files") as a logical file set to a new case ("test9").
autopsy64.exe --createCase --caseName="test9" --caseBaseDir="C:\work\Cases" --addDataSource
   --dataSourcePath="R:\work\images\Test files" --runIngest
Running Ingest on an Existing Data Source
You can run ingest on a data source already in the case if you know its object ID. To find this, go to the case folder and open the "Command Output" folder.
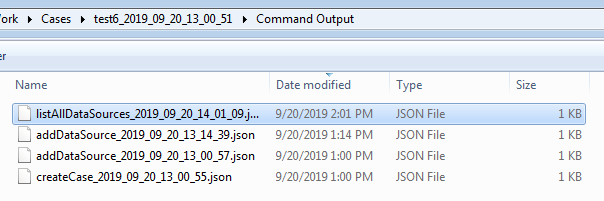
If you've run with the –listAllDataSources option, there will be at least one file starting "listAllDataSources". Open the most recent one - the format will be similar to this:
{
  "@dataSourceName" : "blue_images.img",
  "@dataSourceObjectId" : "1"
} {
  "@dataSourceName" : "green_images.img",
  "@dataSourceObjectId" : "84"
}
You can also look through the addDataSource files to find the one corresponding to the file you want to ingest. The format will be the same. Once you know the data source object ID, you can use the –dataSourceObjectId option to specify it. For example, this will run ingest on "blue_images.img":
autopsy64.exe --caseDir="C:\work\cases\test6_2019_09_20_13_00_51" --runIngest --dataSourceObjectId=1
Generating Reports
You can generate a report on the case using the –generateReports option. You can select which report type to export through the Autopsy options panel (see the configuration section). This option can be run alone or at the same time as you're processing a data source. In this example we're adding a new data source ("small2.img") and generating a report.
autopsy64.exe --caseDir="C:\work\cases\test6_2019_09_20_13_00_51" --addDataSource
   --dataSourcePath="R:\work\images\small2.img" --runIngest --generateReports
The example above uses the default report profile. If you set up a custom report profile as described in the Configuring Ingest Profiles section above, you can specify that profile after the –generateReports option.
autopsy64.exe --caseDir="C:\work\cases\test6_2019_09_20_13_00_51" --generateReports="html"
Listing All Data Sources
You can add the –listAllDataSources at any time to output a list of all data sources currently in the case along with their object IDs, to be used when running on an existing data source. This command can even be run alone with just the path to the case.
autopsy64.exe --caseDir="C:\work\cases\test6_2019_09_20_13_00_51" --listAllDataSources
Running Autopsy
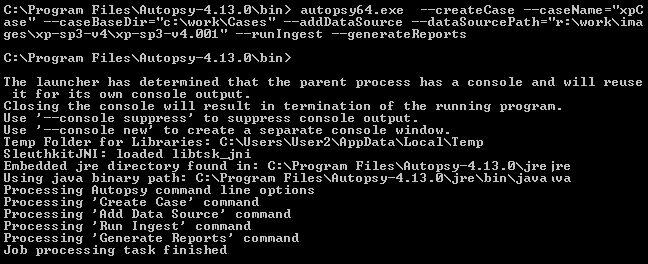
Once you determine which parameters you need, it's time to run Autopsy. In the example below we're creating a new case ("xpCase"), adding a data source to it ("xp-sp3-v4.001"), running ingest and generating a report. The report type was configured earlier to be an HTML report.

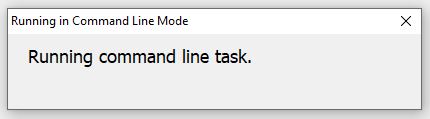
If you've entered everything correctly, Autopsy will load and you'll see this dialog in the middle of the screen:
If you entered something incorrectly you will likely see an error in the output. You'll want to compare what you ran with the descriptions and examples above to try to fix the error.
If everything works correctly, you'll see a log of the processing being done and Autopsy will close when finished.
Viewing Results
You can open the case you created directly from the command line by specifying either the case folder or the path to the ".aut" file. Remember that the folder name will have a timestamp appended to your case name.
autopsy64.exe "C:\work\cases\xpCase_2019_09_20_14_39_25"
autopsy64.exe "C:\work\cases\xpCase_2019_09_20_14_39_25\xpCase.aut"
You can also open the case normally through Autopsy. Simply go to "Open Case" and then browse to the output folder you set up in the Configuration section and look for the folder starting with your case name. It will have a timestamp appended to the name you specified.

If you are only interested in the reports then you don't need to open Autopsy. You can just browse to the "Reports" folder in the case and access the reports directly.
